
THOUGHTS ON KICKSTARTER - PART 2
I'm back with more thoughts on Kickstarter with the bits and pieces I learnt after my successful Australian Birds and PCOS enamel pin series!
I'll go over what I did differently for these campaigns, and how I kept interest during the funding period.
1) Sneak Peeks!
For the Australian Bird Kickstarter, I posted previews 4-7 days before launch on social media. I had 8 birds as my base goals (6 symptoms for the PCOS Kickstarter), and showed images of them on my instagram stories/feed, and my twitter feed. I’ve found keeping the preview window around a week or two helps build excitement, but doesn't allow enough time to feel fatigued by the content.
2) Launch time
I launched both campaigns on a Sunday morning at 10am Australian Eastern Standard Time. I think this worked well, as I got my Australian audience while relaxing on a Sunday morning and my US audience would be viewing it Saturday afternoon to evening. Hitting my core audience at these times meant they were at leisure to read my campaign, register with Kickstarter, and select the rewards they wanted. Launching at a busy time during the week may cause people to put off pledging right away, and I can't remember how many times I've said to myself "I'll do that later" only to forget entirely! Target your launch time to your audience and their time zones.
3) Lower goal amounts
My previous Kickstarters had all been collaborations. To keep things fair, we would unlock 2 designs at a time (around $1000AUD for 2 pins to be unlocked). This can work, but if you struggle to unlock that first goal, then it's hard to generate an upwards momentum and the campaign may plateau, or crawl very slowly upwards.
By launching solo Kickstarters, it meant I could unlock 1 design at a time (all at increments of $450AUD). We unlocked the 1st design very quickly. Not only does that encourage the audience to add their own pledge to the campaign, it helps with Kickstarter's algorithm. If I only aim to unlock 1 design at $450AUD and that unlocks on the first day, I'm already over 100% funded within 24hrs. Kickstarter definitely promotes campaigns with favourable stats, so I believe this helped me greatly!
4) Listing AUD after every value (with USD approximations)
The majority of people browsing Kickstarter will be US based. Unfortunately, our dollar signs are exactly the same which can lead to confusion. Often people in the US won't realise that AUD is much lower in value and will look at $450 for 1 pin to be unlocked and say "that's so expensive!" By listing AUD after every single value (and including an approximate USD value) this helps avoid confusion and makes people overseas more comfortable pledging. Those in Europe may find the USD approximation useful as well, since they are more likely to know their own currency's value again USD.
5) Keep the momentum going!
I unlocked every single design before the halfway mark for both the Australian Birds and PCOS series. This was great, but it also meant I'd have another 2 weeks of promotion without being able to show anything new to generate interest. As many people change and drop pledges throughout the campaign time, I knew I'd need to create new stretch goals.
In hindsight, I would have liked to launch the Australian Bird Kickstarter at a quieter time in my work schedule (June/July 2019 saw Adam and I attend 4 markets/conventions with travel to Sydney and Perth). I launched the campaign the weekend between 2 events, and by the time we were staying in Perth I had unlocked everything. Luckily, I had my iPad with me to sketch up design concepts to add to the campaign!
I designed an additional 9 pins during my stay in Perth. While I'm so happy I could create all these pins, it was definitely a challenge to do so without the comforts of home. However, it was worth it, because I ended up unlocking new designs nearly every day! I also reached out to my backers to see what birds they would like me to design. This was definitely helpful in reducing my research time while interstate and I think my backers appreciated it.
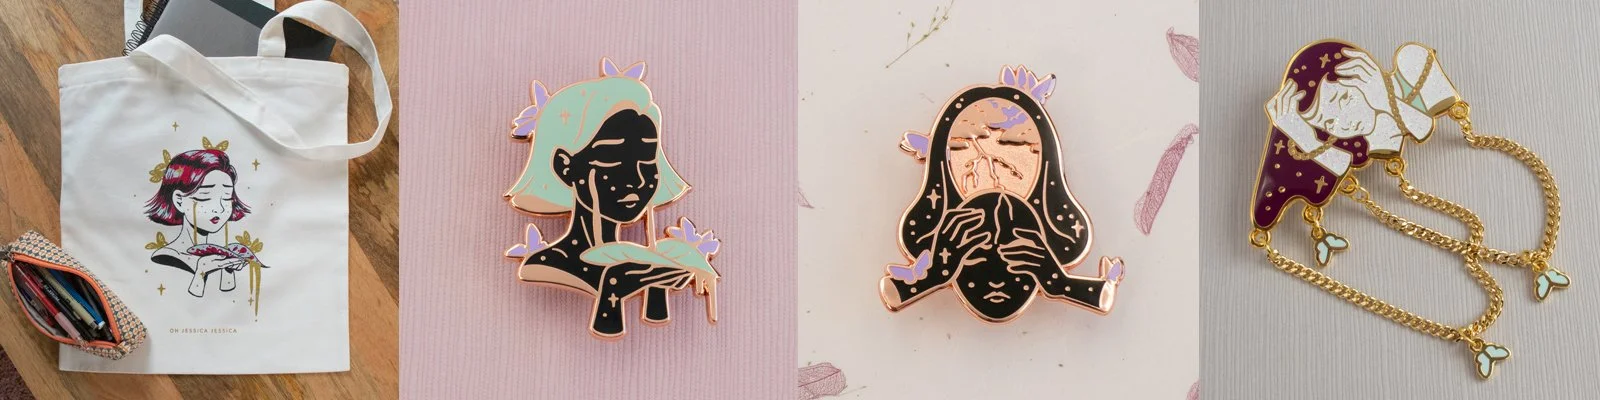
For the PCOS Kickstarter, I wasn’t travelling around the country, but I also wasn’t sure how many people would connect with the designs. I started with 6 symptoms, and quickly unlocked all of them. I asked my backers what other symptoms they would like to see represented, and I ended up with 15 pins designs!
Collaborating with your backers can yield amazing results, but if you don’t work well or fast under pressure, then I don’t suggest you follow my method here. I am definitely more productive with tight deadlines and stylistic rules to follow (the PCOS series had limited colour ways and all needed to be a surreal representation of the symptom), but not every artist can flourish in those conditions.
6) The works not over yet!
Now that the campaign is over, it’s time for fulfilment, product photography, and listing extra stock on the website! I usually have a few vectors to create from the stretch goals added during the campaign. I could vector everything beforehand, but if they don’t get unlocked it’s time that could be used elsewhere during the busy prep stage and many of the designs are created during the campaign.
Kickstarter takes around a fortnight to pay the creators, and there are usually some backers with declined payments. I would recommend anticipating 5-10% of the total goal raised to drop off while Kickstarter collects pledges. You may want to message your declined backers personally in case they didn’t receive the Kickstarter email. I have retrieved a few cancelled payments doing this and I find it’s usually because a card has expired.
I pack and dispatch everything from home. Being in Australia really limits my shipping options, and so I end up packing hundreds of orders over a few weeks. I usually put aside a month in total for quality check, packing, shipping, and admin. My partner helps me with packing and quality check, so if you have good friends or family to help you out, it definitely lightens the load!
After all the backer rewards have been shipped, it’s time to photograph your stock and list the remaining inventory on your store! This will require a new batch of images and graphics for your shop update (launch). Generally, photography is one of the most time-consuming parts of my shop updates. I shoot everything over a few days and then edit the chosen images in Photoshop before creating the listings.
I tend to view Kickstarter as a way to produce new stock. My campaigns have not generated a huge amount of profit (I tend to cut things close and have even lost money on some), but I have excess stock left over at the end that will generate sales later on. You might see the total amount of money that I raise and assume I pocket the total amount.
Far from it.
Pins actually cost this much to manufacture, and shipping is more expensive than you’d think! Keep in mind I don’t usually cover my labour (the many hours spent preparing and completing the campaigns)!
I hope this was an interesting insight into running an enamel pin Kickstarter. For updates on future launches, follow me on Instagram and Twitter to be in the know!